

Even seasoned hikers tend to overlook one of the simplest, most rewarding pieces of gear they could carry: a walking stick they made with their own two hands. There’s something a store-bought trekking pole can never quite replicate about a stick you found, shaped, dried, and finished yourself.
In this guide, I’ll walk you through every step of making a perfect walking stick, also called a hiking stick, from choosing the right branch in the woods to sealing the base for years of hard use. Whether you’re a complete beginner or someone who has whittled a few projects before, you’ll find practical, field-tested advice here.
Editors note: Article was updated September 2026
Why You Actually Need a Walking Stick
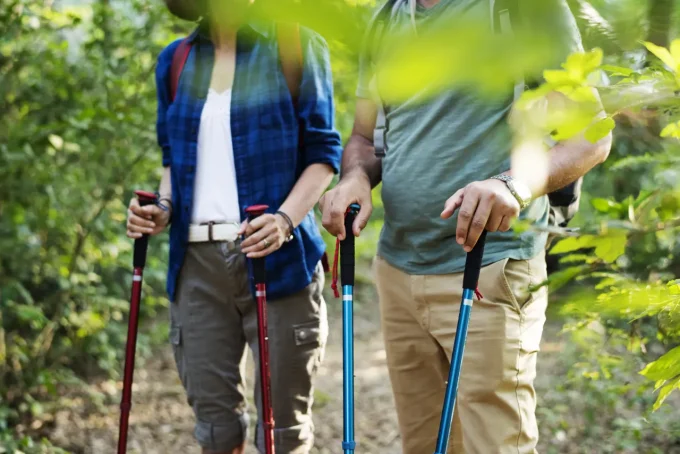
It’s easy to dismiss a walking stick as old-fashioned, but there’s real biomechanics behind why it helps. Humans evolved to walk upright on two legs, and while that freed our hands for tool use, it also left us with a relatively high and easily disturbed center of balance. Four-legged animals stay planted no matter the terrain.
We don’t. Add a loaded backpack to your shoulders and that center of gravity shifts even further, making you more prone to tipping. Have you ever felt yourself pitching backward while powering up a steep incline, or lurching forward on a loose, rocky descent? That instability is more than uncomfortable.
Falls on the trail have led to serious injuries and, in extreme cases, fatal accidents. Anything that keeps you steady is worth having. A walking stick gives you a reliable third point of contact with the ground. It takes pressure off your knees on descents, helps you test the depth of mud or water before you commit a foot, and doubles as a tool for pushing aside brush, spiderwebs, and the occasional curious snake.
On long days, that extra support adds up to noticeably less fatigue in your legs and lower back. You can certainly buy a great one online, but a handmade stick is a testament to your own effort and skill, and it costs a fraction of the price. Better still, you end up with something genuinely yours.
What You’ll Need
Before we get into the steps, here’s a complete picture of everything required from start to finish. There’s nothing worse than getting halfway through a project and realizing you’re missing a key tool. For finding and shaping:
- A suitable branch (more on choosing one below)
- A handsaw or pocket knife
- A drawknife (highly recommended, though a sturdy knife works in a pinch)
- Work gloves
Drying and sanding:
- Sandpaper in 100, 200, and 400 grit
- A dust mask
- A tack rag, or a piece of old cotton cloth and some tung oil
Finishing:
- Tung oil
- Wood stain in your preferred color
- A stain brush
- Clear coat or varnish
- Old newspapers to protect your workspace
The grip and tip:
- Grip wrap material (a leather strip, paracord, or tennis grip tape)
- A rubber cap or rubber chair tip for the base
- Optional: a copper sleeve for looks (with one caveat I’ll explain later)
None of this is hard to find or expensive. Most of it lives in any decent hardware store, and you may already have a good portion of it at home. Now let’s get into the complete, step-by-step guide.
1. Pick a Good Piece of Wood
The first job is to head outdoors and find a solid, proper stick to work with. If you live close to nature with woodland nearby, this will be easy. City dwellers aren’t out of luck either. A government-owned trail or local park will usually have plenty of trimmed branches lying along the paths, ripe for the picking. Always check local rules about collecting wood, and never take from a protected area. When choosing your raw material, pay close attention to three things: size, quality, and sturdiness. They determine how good your finished stick will be.
The Size
Look for a branch that reaches up to somewhere above your elbow but below your armpit. That range gives you a comfortable height once the stick is trimmed and capped. Go for thickness, too, at least one inch in diameter. You’ll be carving and sanding away material as you work, so you want enough to play with. A branch as thin as a blade of grass will offer no real support and may snap under your weight.
The Quality
The best raw material is a branch that hasn’t been lying on the ground for too long. Pick a fresh, sound one, but don’t snap a living branch off a standing tree. A recently fallen branch is ideal. Opinions vary on which wood makes the best walking stick. Almost any species can be turned into one, but the most common choices are maple and pine, which produce medium-quality sticks that work perfectly well.
If you’re after top-tier results, hunt for white waxwood or ironwood. Sticks made from these are nearly indestructible and impressively flexible. Other excellent hardwood options include oak, ash, hickory, and blackthorn, all prized by traditional stick-makers. As a general rule, hardwood beats softwood for durability and feel.
The Sturdiness
Even a branch that looks perfect can hide weaknesses, so test before you carry it home. First, inspect it for insect tunnels, soft spots, or signs of rot. If it passes, smack it firmly against the ground a few times. It’s far better for a weak stick to fail now, in your hands, than later when you’re alone on a ridgeline and counting on it. Picture your supposedly trusty companion shattering into splinters at your feet mid-hike. That’s exactly the scenario this quick test prevents. Also read: Best Hot Weather Clothing for Hiking
2. Shave and Trim the Stick Carefully
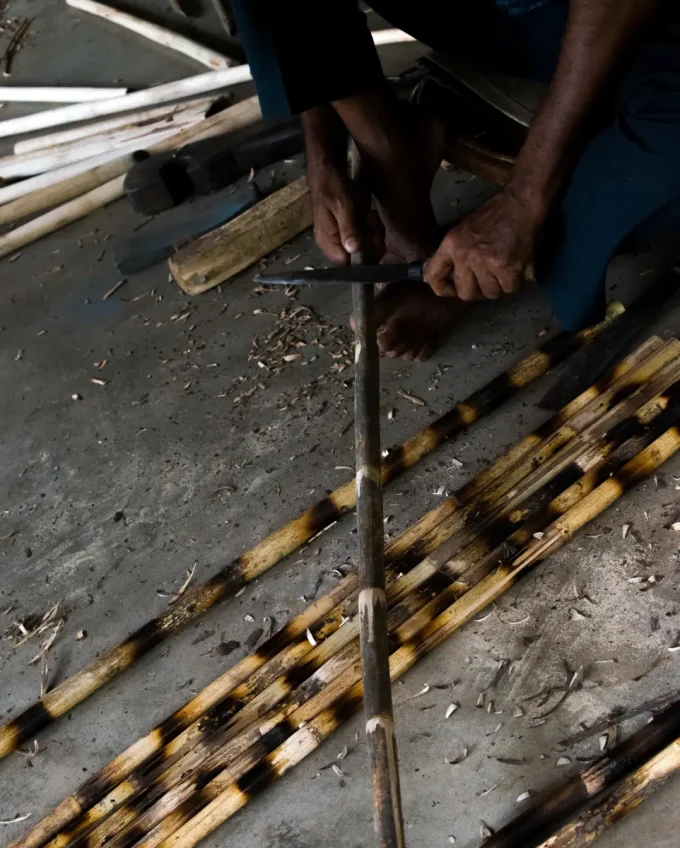
If you manage to find a more-or-less straight piece, count yourself lucky. A naturally straight branch is half the battle won. Since perfectly straight wood is rare, the next step is to shave and trim your branch by hand until it takes the shape you want. Use a handsaw for this, or, better still, a drawknife.
Cut off any protruding twigs and nubs, working carefully. Wear your gloves and angle the blade to bite shallowly into the wood rather than digging deep. That shallow angle does two things. It keeps the saw or knife from sliding down the branch and into your hand, and it removes material gradually so you don’t gouge the body of the stick.
A few spots of bark may look slightly sunken afterward, but you can even those out by shaving off the outer skin of the wood. Almost any knife will do for removing bark, though a drawknife makes the job far faster and cleaner. Take your time and peel away one thin sliver at a time, following the natural curve of the wood. Patience here pays off in a smooth, even surface later.
If you’re caught out in the wilderness without proper tools, a sturdy survival knife will get you through. It’ll take longer to clear the twigs, but in an emergency you work with what you have.
3. Give the Stick Some Time to Dry
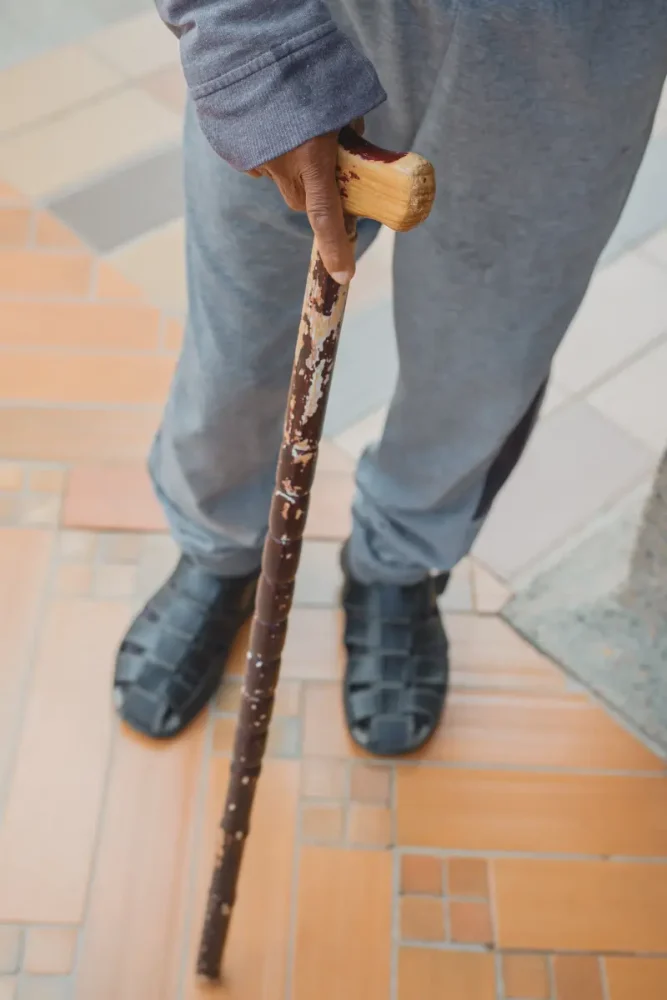
Once you’ve revealed the smooth, pale interior of the branch, set it aside to dry. Drying can take anywhere from a few weeks to a full year, depending on how green the wood is, the species, and the diameter. Wetter wood naturally takes longer. Fir, with its low moisture content, dries quickest, while pine and oak hold among the highest water content and take their time.
Resist the temptation to rush it. Some people throw the stick in a kiln to speed things up, not realizing that fast, high-heat drying undoes all their earlier effort. Kiln-drying makes the wood weak and brittle, so even the sturdiest branch ends up fragile and short-lived. There’s no point selecting tough wood only to bake the strength out of it.
For air drying, store the stick somewhere with steady warmth and good airflow, not hot, just dry and breezy. A garage, shed, or covered porch works well. Stand it upright or lay it flat on supports so air reaches all sides, and check on it periodically. A useful trick: seal the cut ends with wax, glue, or even old paint. Wood loses moisture fastest through its end grain, and unsealed ends often crack (a problem called checking) as they dry too quickly. Sealing the ends slows that loss and keeps the stick from splitting.
Don’t forget about it entirely, either. Wood left to dry far too long can become overly dry and brittle, so check the stick now and then and move on once it feels firm and solid. And honestly, you don’t always need to wait a full year. In most cases drying is quicker than that, and if you’re in a genuine hurry for a stick, you can shorten or skip this stage. Just understand that a stick made before it’s fully dry won’t be as durable or safe.
When you have time, do it properly with your next one. Also read: Best Boonie Hat You Should Always Have with You
4. Prepare the Stick for Oiling and Staining
A stick that’s been oiled and stained gains a protective layer that lets it accompany you on countless trips. But it isn’t ready for stain straight off the drying rack. A little prep comes first. You may have shaved a raw branch into a smooth white stick, but “smooth” by hand and “smooth” enough for a comfortable grip are two different things.
Sanding dramatically improves both the look and the feel. All this step really takes is sandpaper and elbow grease. Prepare three grits: 100 (coarse), 200 (medium), and 400 (fine). Run your hand along the body to feel which way the grain flows, then start with the 100 grit. Strap on a dust mask before you begin.
You do not want fine wood dust settling in your lungs. The cardinal rule of sanding is to never go against the grain. Working across or against it forces you to push harder, chews through sandpaper faster, and leaves scratches that show up under stain. Go with the flow of the grain instead. Be gentler around the top, especially anywhere you’ve carved a contour. Once you’ve worked the whole length with 100 grit, switch to 200 and repeat from the top, then finish with 400. You can keep going until the surface feels like silk, but you don’t have to chase perfection.
Stop when it feels good in your hands. When you’re satisfied, grab a tack rag and wipe the stick down to clear away every trace of dust. Tack rags are sold at any hardware store, but you can make your own: pour a little tung oil onto a scrap of old cotton and wipe the stick clean. Stock up on that tung oil, because you’ll need it again in the next step. Love DIY projects? Then why not learn How to Make a Paracord Lanyard and How to Tie Paracord Knots for some seriously durable add-ons?
5. Oiling and Staining the Stick
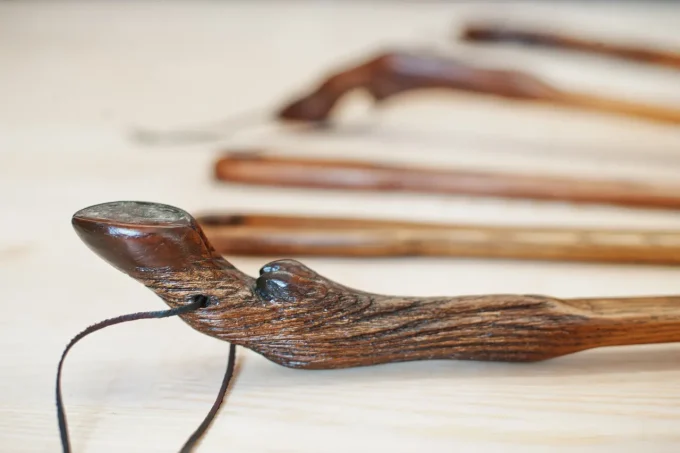
At this point the stick is genuinely functional, and if an urgent hike is looming you could take it out as-is. For the best results, though, take the time to finish it properly. This is the stage that turns a serviceable stick into something that looks like it belongs in a high-end shop window, and it adds the protection that makes it last.
Start with oil. Apply tung oil evenly from top to bottom until the whole stick has a soft gleam. The oil soaks into the grain and forms the foundation for everything that follows. Next comes the stain. Pick a color that appeals to you. The usual palette runs from very light to very dark brown, and your local hardware store should carry a solid selection. Open the windows first. Stain is pungent, and working with it in a closed room will leave you light-headed in no time.
Brush on the first coat using the same principles as sanding: follow the grain, work from top to bottom, and keep the coverage even. Smooth out any runs or pooled spots as you go. Lay down old newspapers underneath, because staining gets messy, and scrubbing it off a garage floor is work you’d rather avoid.
Let the stain dry for a few hours, then lightly sand again with 400 grit and buff with tung oil. Apply the next coat. Repeat the cycle until the stick wears three solid coats of stain, sanding and buffing between each one for a deep, even finish. Finally, for real durability, add a layer of clear coat or varnish over the stain. This top layer shields your hard-earned color from scratches, scuffs, and dents, sealing everything underneath.
6. Add a Grip
A bare wooden handle works, but after a few hours on the trail it gets uncomfortable, especially in warm weather, when a sweaty palm starts to slip. The good news is that adding a grip is simple. Hold the stick naturally and mark where your hand sits at the top and bottom of your grip. That’s your target zone. I’d make it slightly larger than your hand so you can shift your grip as you walk. From there you have a few good options:
- Leather strip: wrapped tightly, it looks fantastic and ages beautifully, developing character with every trip.
- Paracord: a rugged, practical choice that adds grip and a bit of backwoods personality, and it gives you cordage in an emergency.
- Tennis grip tape: the most practical pick if you want something soft, non-slip, and easy to replace down the line.
Whatever you choose, wrap it firmly and evenly. Secure the ends with a small dab of wood glue, or a tight knot if you’re using cord. While you’re at it, consider adding a wrist strap. Drill a small hole near the top of the stick and thread through a short loop of paracord or nylon cord. Slipping your wrist through it means one less thing to drop on uneven ground, and one less chance of watching your stick tumble down a slope.
7. Add the Finishing Touches
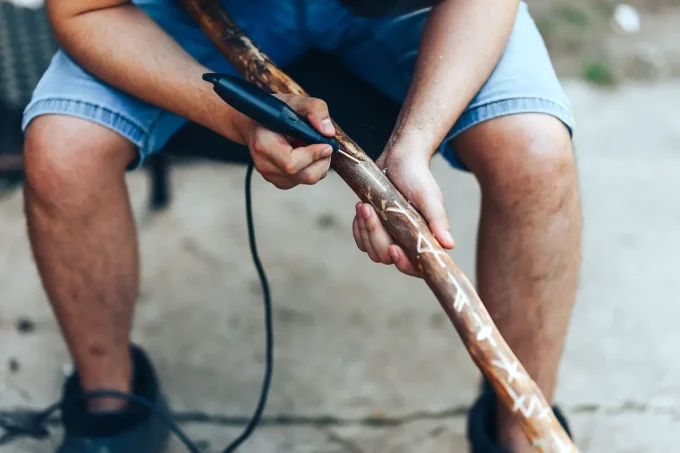
Your walking stick is looking mighty fine now and is nearly ready for its first outing. But there’s one last job before you stride out the door in full hiking gear. You need to protect the base. It’s the part that meets the ground with every step, and without a cap it will splinter and wear down before long.
The two common options are a copper pipe sleeve or a rubber cap. A copper sleeve looks undeniably cool, but here’s the caveat. It slides over the wood, so you’ll usually have to whittle the bottom of the stick down a bit to make it fit, and metal-on-rock can be slippery on hard surfaces. A rubber cap, or a simple rubber chair tip, is the cheaper, more practical choice. It stretches to fit snugly over the base without much fuss, grips wet rock and trail far better than copper, and absorbs a little shock with each step. For pure function, rubber wins. For looks, copper has the edge.
How to Care for Your Walking Stick
A handmade stick will last for years with a little upkeep. After muddy or wet hikes, wipe it down and let it dry fully before storing it. Don’t leave it standing in a damp corner, where moisture can creep back into the wood. Once or twice a season, give it a fresh coat of tung oil to keep the wood nourished and water-resistant. Inspect the grip wrap for fraying and the base cap for wear, and replace either when needed. If the finish gets badly scratched, a light sand and a new coat of clear varnish will bring it back. Treated well, your stick only gets better with age.
Common Mistakes to Avoid
A few pitfalls trip up first-time stick-makers:
- Rushing the drying stage. Working with green wood or kiln-drying it leads to cracks and brittleness. Patience here is everything.
- Sanding against the grain. It scratches the wood, ruins your sandpaper, and shows through the stain.
- Skipping the dust mask. Wood dust is genuinely bad for your lungs, so wear it every time you sand.
- Choosing a stick that’s too thin. It won’t survive carving, let alone a season of hiking.
- Forgetting the base cap. An unprotected tip splinters fast and shortens the life of all your hard work.
Frequently Asked Questions
What is the best wood for a walking stick? Hardwoods are the gold standard. White waxwood and ironwood produce nearly indestructible, flexible sticks, while oak, ash, hickory, and blackthorn are excellent traditional choices. Maple and pine make perfectly good medium-quality sticks if that’s what you can find.
How long does it take to make a walking stick? The hands-on work of trimming, sanding, staining, and finishing can be done over a weekend. The drying stage is the variable, taking anywhere from a few weeks to a year depending on the wood. You can shorten it in a pinch, but a fully dried stick is stronger and safer.
Do I need to dry the wood before using it? Ideally, yes. Green (undried) wood is heavier, prone to cracking, and less durable. If you need a stick urgently you can use it sooner, but make a properly dried one when time allows.
How tall should a walking stick be? A good rule of thumb is somewhere between your elbow and your armpit in height once finished. That range gives comfortable support on both climbs and descents.
Congratulations on Your Very Own Walking Stick!
As you can see, there really aren’t that many steps to making a walking stick. You pick a suitable piece of wood, trim and shave it, let it dry, finish it with sanding and several coats of stain, then add a grip and a protective base, and along the way you get to let your imagination run wild with the design.
It takes time, and it’s certainly not as effortless as booting up your computer and having one shipped to your door. But the payoff is a tool that’s stronger, cheaper, and infinitely more personal than anything off a shelf. So plan a trip with your hiking friends and brandish your new creation like the Excalibur to your King Arthur. And don’t forget to lace up a pair of our recommended Best Gore-Tex Hiking Shoes before you go.
Have any tips or tricks of your own for making walking sticks? Share them with your fellow readers in the comments below.

Mark Foster loves to push his limits when it comes to survival in the wilderness. He might go for a 30-days adventure without any food or equipment except for a survival kit and a knife. We should mention that his survival kit has 122 items in it, so he know what he is doing. Mark is working on his book to share with the world all his experience gained during those brave adventures.
Thank you for this article! You are right, a walking stick can cost up to $50 so making one on your own is a very great idea. It is a nice DIY project especially if you have extra time. This is cool because you can apply your preferred design too.
You never know when you will lose your gear, including your hiking poles. Therefore, knowing how to create them is absolutely important.
For the longest time, I have been planning on making my own walking stick and this article just gave me more motivation. Since it is a DIY, I will surely save more money. I will also be able to incorporate whatever style I like so it is a win-win.
One of the most important skills for any hiker is creating hiking sticks. So, make sure you get hold of all the tips from the article.
Unlike other hiking gears, you can actually make your own walking sticks. The skill will help you cut on cost and allow you to do something unique.
Walking sticks are the most essential hiking gear, and knowing how to make them is essential. This article should prove helpful.