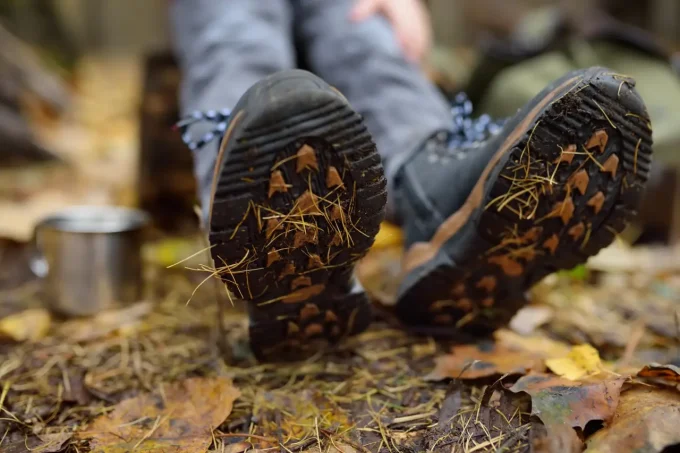
Imagine you are out for a hiking trip, making good progress, and having an amazing day. However, it all goes wrong when the sole of your boot breaks! This is not only possible, but quite common, as we will see below.
The good news? A broken sole doesn’t have to send you packing back home. With a few tricks, you can patch things up right on the trail and keep going. And I’m here to tell you all about these tricks you should know to quickly repair yours while outdoors.
See also: How to Repair Leather Hiking Boots: Extend the Life of Your Leathers
Before Starting the Repair
Examine the region where the sole is damaged and assess its size. Check carefully to see if there is just one hole or the whole sole is thin and breaking.
Once you have assessed the extent of damage, it is time to wash your shoe. Wash it thoroughly with water and make sure that all debris, dust and other grime has been cleaned away.
Any impurities will hinder the proper repair of the sole. When the boot is clean, dry it off thoroughly. You can only repair the hole if your boot is completely dry.
Gather your repair kit – What you use will depend on the method, but even a minimalist setup can save the day.
Keep in mind that these are only temporary fixes until you get back to civilization, where you should probably invest in having your boots professionally fixed, or just buying a new pair (I’ve got you covered here as well: check out the best Gore-Tex hiking shoes here).
Method 1: Rubber Patch and Glue
If you’ve got a thin sole or a hole starting to form, a rubber patch is a reliable fix, provided you’ve packed one (if not, try to get creative and produce one from existing bits and bobs you have on hand).
Here’s what you will need:
- Rubber patch (slightly larger than the hole)
- Rubber cement made for shoes (skip the super glue if possible – it’s too rigid)
- Scissors
- Duct tape
Here’s how to do it:
- Cut the patch – Make it large enough to overlap the hole.
- Apply glue – Coat the patch edges and the damaged sole area. Keep glue away from the inside of the boot.
- Attach and press – Position carefully; rubber cement bonds fast.
- Secure with duct tape – Wrap tightly and leave overnight if possible for maximum hold.
Trail tip: Avoid water until you can get a permanent repair and, as mentioned above, make sure your boot sole is completely dry before applying the patch!
Method 2: Stitching
Not the easiest option – it’s pretty tough, actually – but stitching a patch can hold up well, especially if paired with glue. Without glue, it won’t be waterproof, but it will always be better than a hole in your boot.
You’ll need:
- Leather patch
- Scissors
- Long, sturdy needle
- Optional: Glue and waterproof sealant
Steps:
- Cut the patch to size.
- Stitch in place – Using a long and thick needle that will not break easily, start sewing the rubber patch over the hole. Place one hand inside the shoe to give you better leverage – but make sure you don’t inure yourself with the needle.
- Reinforce with glue along the edges.
- Seal with waterproof sealant to keep moisture out.
Method 3: Using a Bicycle Repair Kit
Surprisingly effective for small sole gaps and light wear – if you have a kit on hand (if not, you might consider carrying one just for this type of occasion):
You’ll need:
- Standard bicycle repair kit
Steps:
- Clean and dry the damage.
- Pick a patch from the kit.
- Apply adhesive to the sole, wait until tacky.
- Press the patch firmly and let it set for a few minutes.
This is a quick, light-duty fix – not for large holes, but perfect to stop minor wear from becoming a blowout.
Fixing a Loose Sole
If part of the sole is peeling away, re-glue it on the spot.
You’ll need:
- Shoe Goo or similar adhesive
- Wooden stick (for spreading)
- Clamp or duct tape
Steps:
Clamp or tape and leave for several hours.
Apply glue to the separated section.
Spread evenly with the stick – no lumps. Leave the boot like this for several hours so that the sole sticks properly and stays in place.
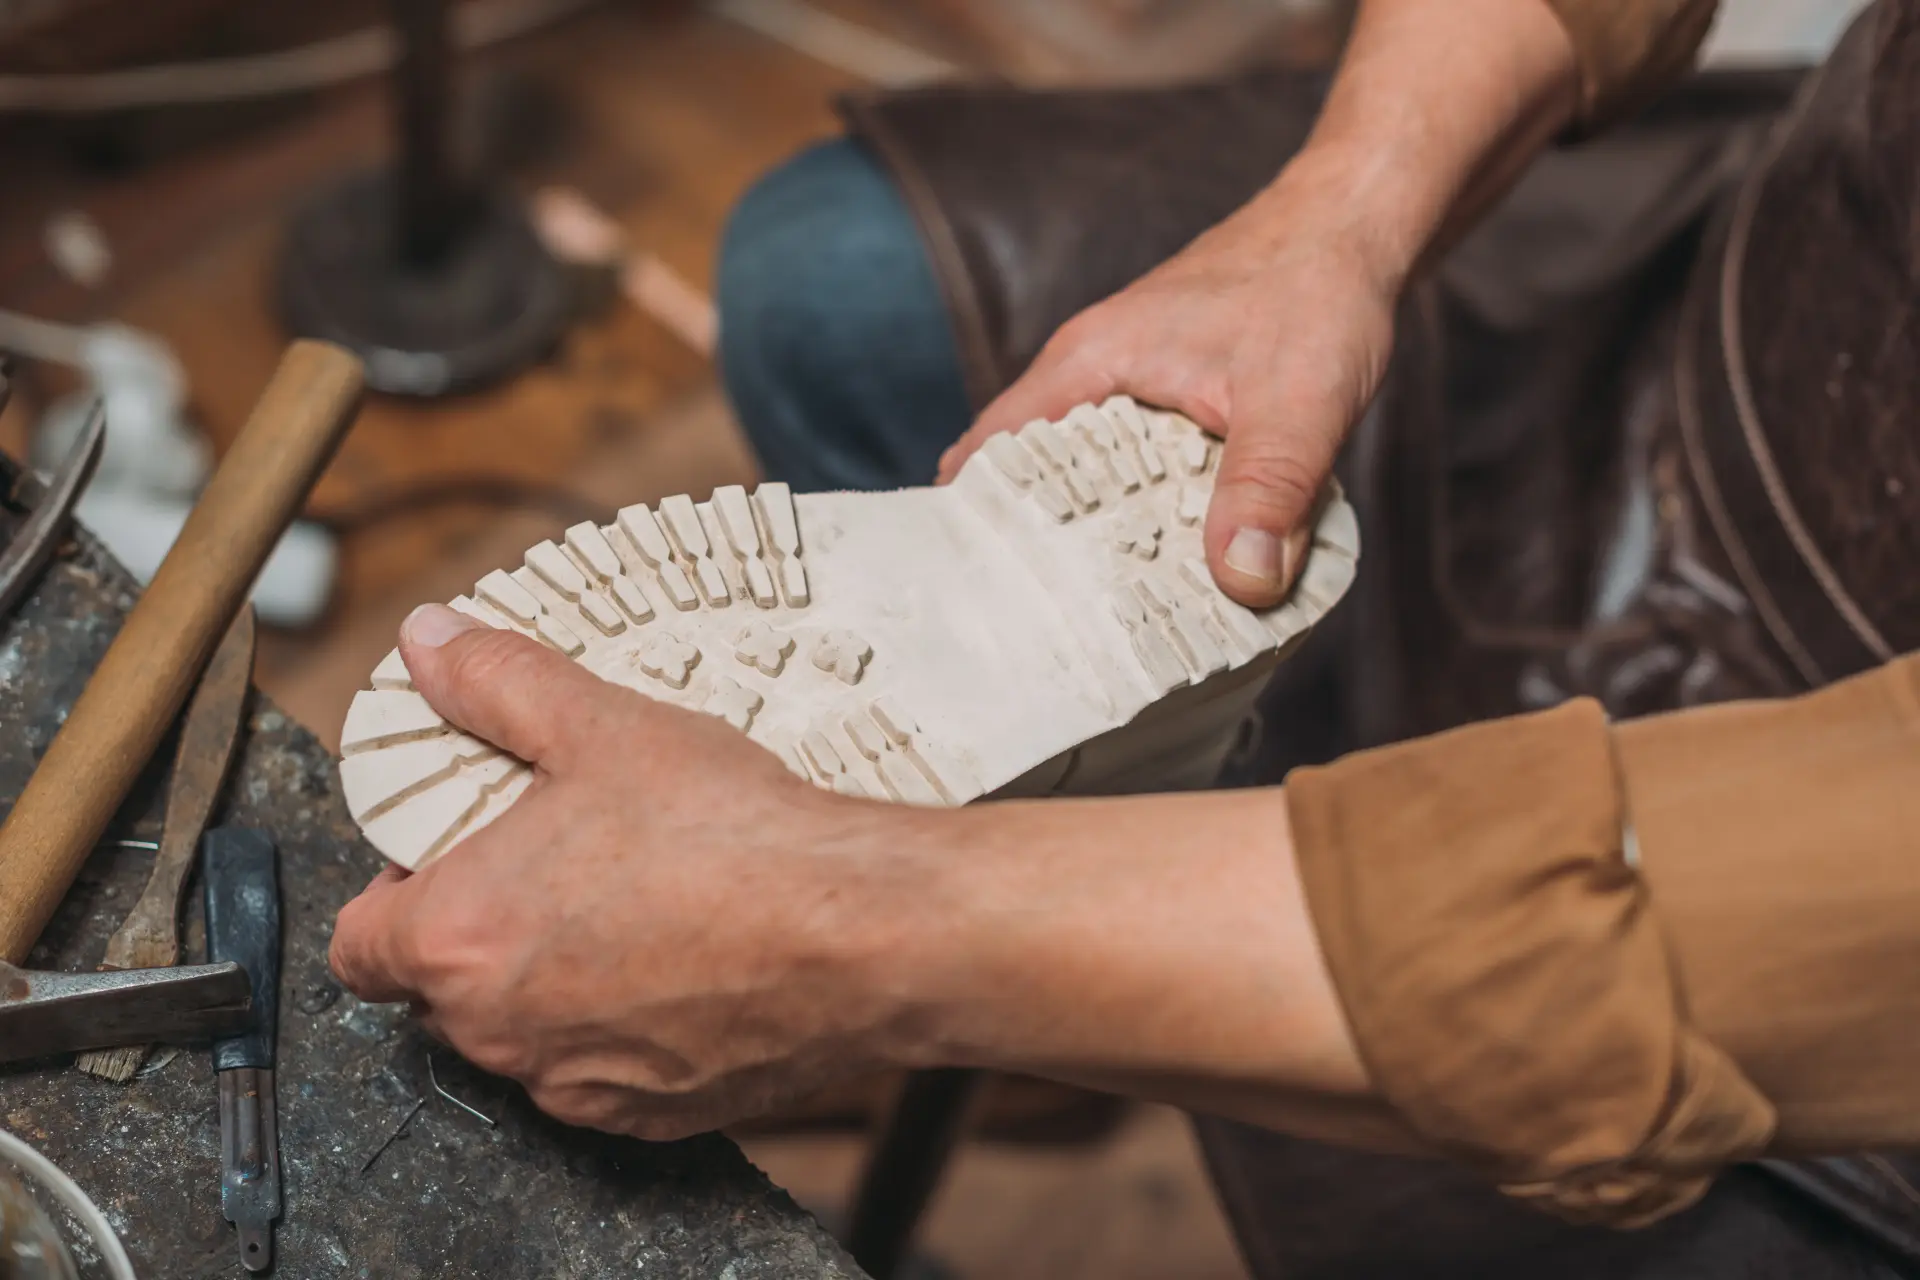
Replacing the Sole
Replacing an entire sole is doable but not trail-friendly as it requires tools and time. Still, here’s the process if you’re somewhere you can work and you have the right equipment on hand.
You’ll need:
- Knife, screwdriver, hammer, clamps
- Sewing awl
- Replacement sole
- Shoe adhesive
- Acetone, sandpaper
Steps:
Step 1:
Step 2: Use acetone to clean the inner layer of the boot until it is completely clear. Make sure that any glue, adhesive or other debris is cleared away. If the rubber is broken in some region, mend it with a stitching awl.
Step 3: With sandpaper, roughen the inside surface of the boot as well as the new sole surface.
Step 4: Apply adhesive to the new sole as well as the inner boot surface. Wait for a bit until the glue gets tacky; this may take a few seconds. Now stick the new sole in place and press it firmly.
Step 5: Put the boot on the ground and pound it with a hammer. You should now use clamps to fix the new sole in place. It is best if you leave the boot like this for about 24 hours. This will give it time to bond properly.
Should You Repair Damaged Boot Soles or Buy New Boots?
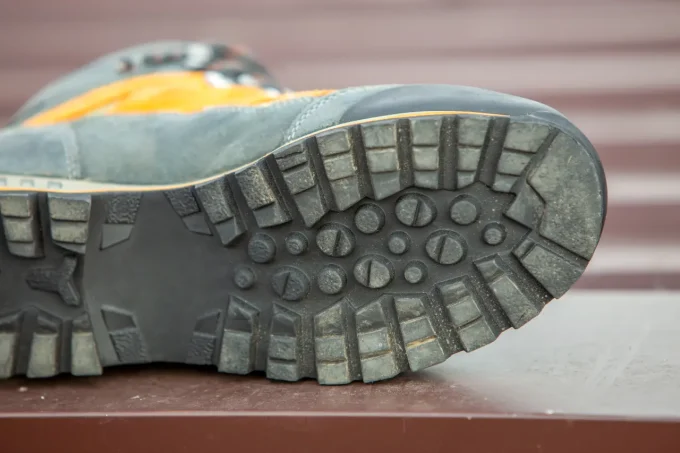
Boot soles are designed to support the foot, keep it warm & dry, absorb shock and provide traction. Any of these functions can be compromised by a damaged sole.
When you are out camping, you have to go for repairs, unless you are carrying an extra pair of boots. You need to be carrying the proper materials, though, or you cannot repair.
There are some cases in which a sole is so badly damaged, it cannot be repaired satisfactorily. In these cases, go for a temporary fix which will last the duration of your trip, and then get the sole replaced professionally.
You could do it yourself, of course, but it will need a little practice before you can change the sole in an expert manner.
My Recommendation: Repair broken boot soles first! This is generally less expensive than buying new ones, especially if you consider how much money is wasted on poorly made products every year.
People who wear work or casual boots should probably just buy new pairs considering how costly repairs can become after repeated attempts at fixing them (and all the materials used need to be replaced on each attempt). Of course, the choice is ultimately yours.
Do you have anything you would like to add about repairing the soles of hiking boots? Let us know in the comments section!

Daniel is a gear freak when it comes to hiking, climbing and camping. He went to REI Outdoor School to meet new people and learn best practices. Don’t even try to argue with him about the latest backpack or ice axe, he tried most of them. Daniel’s dream is to climb Mount Everest.
Thank you for this Daniel! I have a couple of pairs that need repair so this is very helpful. I am so intrigued with the use of the bicycle repair kit. I have never heard that it was possible to use that. I will surely carry one on my next camping trip.
Thanks for commenting!
I will surely try the tips you have mentioned. Since I am a very active person, my boot soles usually suffer. With this step-by-step guide, I can at lease salvage some of my boots. I have already wasted so much money with shoes so I am looking forward to repairing some pairs I own. .
Let us know how it goes!
I don’t know about you, but I am a DIY fanatic. Repairing my boot soles is one of the many activities that keep me busy over the weekend. So, don’t throw away your hunting boots because of a repairable damaged sole.
If you don’t mind getting a little dirty, then you should have no problem repairing your boot soles. The shoe goo is indeed an amazing product.