
The most important rock climbing techniques for beginners are to climb with your legs rather than your arms, keep your arms straight to save energy, plan your moves before you make them, and use precise footwork on solid footholds. Combine good movement with the right gear, a trusted belay partner, and plenty of practice indoors before heading outside, and you’ll climb longer, safer, and with far less fatigue. Here’s how to build those skills from the ground up.
Before you start climbing, decide what type of climbing you want to do, since each one needs different gear and training. This guide shares the core rock climbing techniques that will get you the best experience on the wall, whether you’re in a gym or on real rock.
Types of Rock Climbing
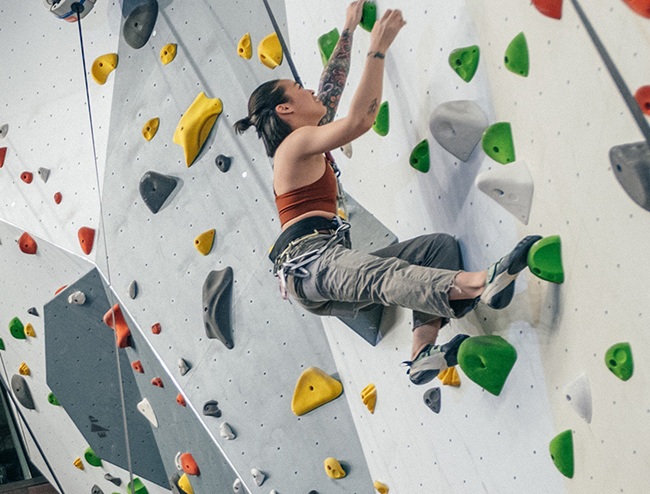
Indoor climbing is one of the most popular ways to start. It’s weather-independent, so you can climb any time, and it’s fun and relatively safe, which makes it ideal for beginners. Most gyms rent gear, so you can try the sport before investing in your own.
Bouldering needs less time and gear, since it’s done on shorter walls or rocks without ropes or harnesses. A crash pad below cushions falls, so you focus purely on movement and strength. It’s a fantastic way to build power, but don’t be lulled into thinking it’s risk-free, since falls onto a pad (or awkwardly off one) are a common source of ankle and wrist injuries, so learn to fall and use a spotter.
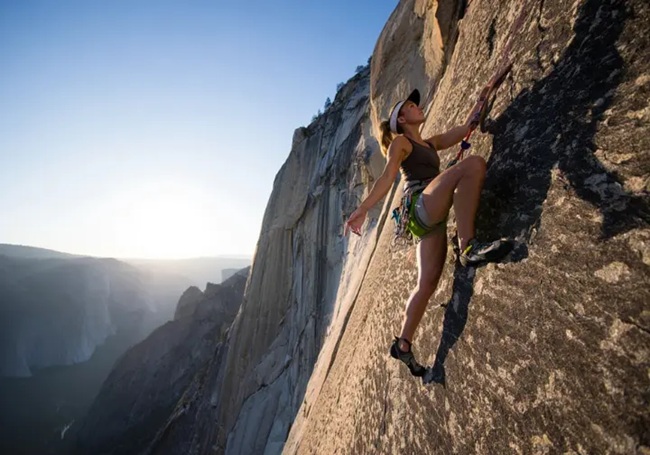
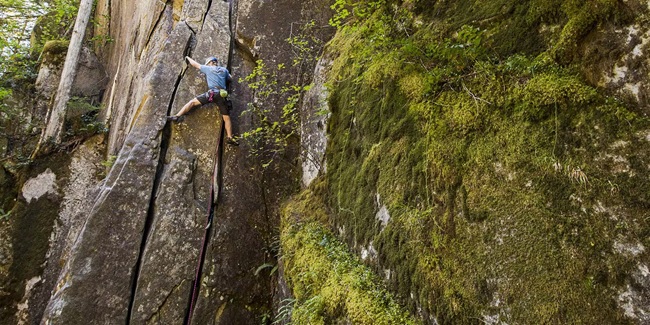
Outdoor roped climbing is the most challenging form. You climb real rock using a rope system, clipping into protection such as quickdraws as you ascend. The holds aren’t marked, the hazards are real, and the margin for error is smaller, which is why it demands solid skills and experience first.
Indoor climbing is more convenient and far safer, but if you’re ready for a bigger challenge, the techniques below will prepare you for the outdoors too.
Core Rock Climbing Techniques
Climbing takes training to perfect, and the more you practice the easier and more fun it becomes. Keep in mind that indoor and outdoor climbing are very different, with outdoor climbing presenting hazards the gym never will, so don’t assume gym skills alone make you ready for real rock. Always go with experienced climbers who can show you the ropes, and keep training before attempting anything more dangerous.
Finding and Reading Your Route
Before you climb, always check that the rope isn’t twisted or incorrectly set, and make sure the top rope is properly fixed at the end of the route. Then look up and pick the easiest line, rather than jumping onto something too hard. Climb slow and steady, one move at a time, and don’t rush.
Focus on your feet with every step, and look for good hand holds that give you balance and support. Use your legs more than your arms, since your arms tire quickly. Take your time to read the route, because rushing ends the fun fast. The easiest routes offer the best holds and let you climb at your own pace. Routes are graded by difficulty, and on the common Yosemite Decimal System, grades from 5.0 to about 5.7 suit beginners, 5.8 to 5.10 are intermediate, and 5.11 and above are advanced, so start low and work up.
Climb With Your Legs, Not Your Arms
The single biggest technique shift for beginners is using the legs to push rather than the arms to pull. Keep your arms extended and let your weight hang from your skeleton rather than your muscles, using your hands mainly for balance while you bend your knees and drive upward with your legs.
Look for solid footholds, step onto them deliberately, and drop your heels slightly below your toes to keep weight over your feet instead of your hands. Always plan your next move in advance, visualizing the sequence before you commit, since being unsure mid-climb makes your arms tire quickly and your position harder to hold.
Rest and Re-Chalk When You Can
Re-chalk your hands regularly, since chalk wears off on the rock and you need a firm grip that doesn’t tear up your palms. Look for stances where you can rest, shake out your forearms, reapply chalk, and plan your next few moves. Don’t linger too long, though, because muscles cool and stiffen, which makes restarting harder.
Learn the Back-Step
Good footwork is what makes you a stronger climber, and the back-step is one of the most useful moves to learn. You stand on the outside edge of your foot and rotate your lower body so that hip turns in toward the wall, which brings you closer to the rock and extends your reach. Rather than matching both feet on one hold, it’s often more efficient to cross a leg over directly into the back-step position. Practice it until it feels natural.
Grip the Right Way to Avoid Injury
When you move up, step with one foot while reaching for a new hold with the matching hand, aiming for a good grip before pulling yourself higher. Keep your arms as straight as possible when hanging on holds, and initiate movement from your legs, not your arms. Just as important, use an open-hand grip whenever you can rather than a full crimp, since crimping stresses the finger tendons and pulleys and is a leading cause of climbing injuries. Even experienced climbers fall into the crimping habit, so build the open-hand habit early.
Find Your Own Climbing Style
There’s no single correct way to climb. Experts may try to teach beginners the one best method, but the real key is finding the technique that feels most natural and effective for your body, as long as it’s safe. Relax, experiment, and don’t be afraid to move in a way that works for you, because developing your own style is how you learn to climb dynamically and confidently.
Gearing Up: Essential Rock Climbing Equipment
Get to know your gear before you climb. You’ll want comfortable, breathable, sweat-wicking clothing that allows a full range of movement, plus the following essentials.
- Climbing shoes. The right shoes make a real difference. They should fit snugly, closer than your street shoes, so you can stand precisely on small holds, but for beginners they should be comfortably snug rather than painfully tight. Avoid loose-fitting shoes, which rob you of precision and control, and skip heavy street footwear entirely.
- Climbing chalk and a chalk bag. Chalk keeps your hands dry for a secure grip.
- A climbing harness. This connects you to the rope, so choose one based on comfort and features rather than shaving grams.
- A climbing helmet. Essential outdoors to protect against rockfall and head impacts in a fall. Gyms generally don’t require one, but a helmet is non-negotiable on real rock.
- A belay device. Used with locking carabiners to control the rope and arrest falls.
- A bouldering crash pad. If you boulder, a pad cushions your landings.
For deeper picks, see our expert reviews of the best climbing gear and our guide on how to choose the best belay device.
Training for Rock Climbing
Preparation matters, so build strength and movement skills before heading out. Useful exercises include pull-ups, scapular pull-ups, and shoulder-health moves like band pull-aparts and scapular retractions and protractions, done for a few sets of around 15 reps. These build the pulling strength and shoulder stability climbing demands. Just as important for beginners is patience with your tendons: muscles get strong quickly, but the finger tendons and pulleys that climbing relies on adapt slowly, often over a few years, so pushing onto routes that are too hard too soon is a fast route to injury.
Once you’re comfortable with basic conditioning, start climbing indoors first, where it’s easier and safer, and only then progress toward outdoor climbing. And never skip learning your knots, which are a core safety skill, so study our guide to climbing knots and practice them until they’re automatic. For rope skills, our guide on how to climb a rope covers more.
Dangerous Mistakes to Avoid
Safety comes down to doing the basics correctly every single time. Before you leave the ground, confirm your helmet is on and fits, your harness buckles are doubled back, your knot is tied correctly and dressed, your rope is loaded properly through the belay device, and your carabiners are locked. The belay device acts as a brake on the rope, so it must be set up right. Make a habit of partner checks, where you and your climbing partner check each other’s harness, knot, and belay setup before every climb, since this simple routine prevents most serious accidents.
Other common mistakes include climbing routes far beyond your ability, relying on arm strength instead of technique, crimping holds, and climbing alone. Avoid all of these and you’ll stay far safer on the wall.
Frequently Asked Questions
What is the most important skill in rock climbing?
Belaying is the most important safety skill. When climbing with a partner, you keep the right tension on the rope as they move, so that if they slip, the belay system catches them. Practice belaying in the gym under supervision until it’s second nature before relying on it outdoors.
What is the most important technique for beginners?
Climbing with your legs rather than your arms. Your legs are far stronger and more enduring, so driving upward with your feet while keeping your arms straight for balance lets you climb longer with much less fatigue. Good footwork and planning your moves follow closely behind.
How often should beginners rock climb?
No more than about three times a week while you’re starting out, since climbing is strenuous and your muscles, tendons, and skin need recovery time. Make at least one session a lighter, endurance-focused day, and listen to your body to avoid overuse injuries.
How should climbing shoes fit?
Snugly, closer than your everyday shoes, with no dead space so you can stand precisely on small holds. For beginners, aim for a comfortably snug fit rather than an aggressively tight one. Loose shoes reduce control and precision, which is exactly what you don’t want.
Is rock climbing good for weight loss?
Yes. Like any active sport, climbing burns significant calories and builds strength, so it can support weight loss. Check with your doctor first if you have conditions like diabetes, high blood pressure, or high cholesterol, and ease in gradually, since climbing is demanding on the body early on.
Can I start rock climbing outdoors right away?
It’s strongly discouraged. Start indoors to build strength, technique, and safety habits in a controlled environment, learn your knots and belaying, then move outdoors with experienced climbers or a certified guide, since outdoor climbing carries hazards the gym does not.
Conclusion
Rock climbing is fun and genuinely challenging, but it’s best to learn and practice the techniques properly before testing them on real rock outdoors. Gyms are perfect for building strength and skill, yet stepping outside is where the sport becomes a true adventure. For the safest start, take lessons from a certified guide or instructor, and climb with experienced partners as you progress.
With the right instruction, steady training, and the techniques above, you’ll be climbing smarter and safer in no time. Let us know how your first climb goes in the comments below.



Only a fool wouldn’t work on their weaknesses when it comes to climbing style! Just make a conscious effort to focus on the techniques that you don’t enjoy and that are, subsequently, causing you issues. The best thing is, you’ll see much more improvement by working on your weaknesses rather than trying to improve the techniques that you already excel in. A lot of people seem to complain about progression and yet still have weaknesses that they neglect to work on!
My brother is an avid rock climber and as he always say “practice till you perfect it,” which makes a lot of sense. When you’re hanging by a cord hundreds of feet above ground, you can’t make a mistake. My brother’s team even record their climb using a camcorder/cam so they can review their mistakes and rectify these. And he even has his hangboard at home where he practice even more – that’s commitment for you! So, you can deduce who helped me with my reviews on hangboards, lol!
https://myoutdoorslife.com/gear/climbing/best-hangboard.html
Practice is essential for any rock climber, no matter how good they are. The best way to learn is through experience, so when you’re practicing make a point to try different ascents and switch up the courses that you go to. And when you are finally out, take the time to plan, don’t just jump into it. For me, it is just as important to plan where I’m going to try and go, as well as contingencies for how to get there, as it is being able to execute once I’m up there. The most important thing though, is to have fun!
Before my brother got serious with his rock climbing pursuit, he enrolled in an indoor wall/rock climbing gym where he met the most professional trainer. I think learning the proper technique from the very start is crucial. A solid foundation is key. 🙂
I absolutely love rock climbing! But I’ve never done it without a harness and only do small rocks outside. I watched a lot of people do some climbing at the Joshua Tree National Park. Looked amazingly fun. I might have to be a little more adventurous.
There are indoor rock climbing gyms that you can also go to and practice. Most are inexpensive and provides great tutelage. There are professionals who will teach you the proper techniques and tips which can save your life. You can also meet fellow rock climbing enthusiasts who can make the activity more fun. Move at your own pace and don’t forget to go out of your comfort zone. 🙂