
Even if you are an experienced hiker, you should still be able to benefit from learning how to make a walking stick.
And we’re going to right those wrongs in today’s article, where I will share with you a step by step guide for making a perfect walking stick aka hiking stick.
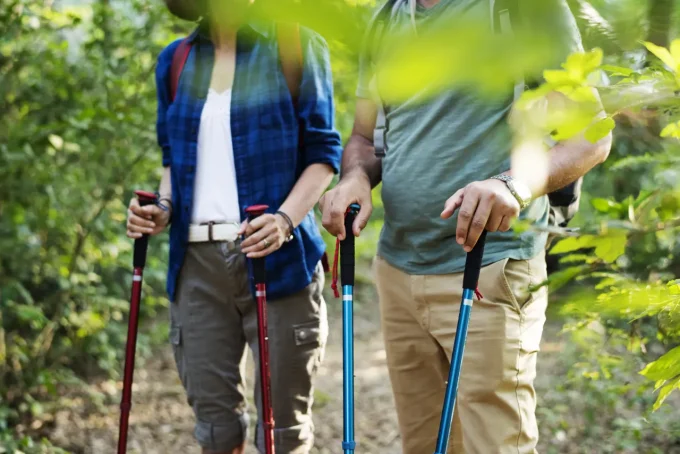
Humans have evolved to walk on two legs, but that actually puts us at a disadvantage when we are in the great wilderness.
Compared to four-legged creatures, our center of balance can be upset easily. This is especially true when we are carrying something on our back, like a backpack.
Have you ever felt like you were going to tip over backwards when trying to overcome an upward slant along your hiking trail, or forwards when you’re descending?
This can be really dangerous. There are tumbles that have led to fatal disasters, which is why you should do everything you can to keep yourself balanced.
A walking stick is a good place to start. Not only does it allow you to hike steadily, but you will also have something to clear the path with.
You can basically just buy a great one from Amazon (affiliate link), but having a handmade one as a testament of your efforts and crafting skills puts all the commercial options out there to shame. Plus, it’s much cheaper.
What You’ll Need
Before getting into the steps, I want to give you a clear picture of everything required from start to finish. Nothing is worse than getting halfway through a project and realizing you’re missing something.
For finding and shaping:
- A suitable branch (more on this below)
- A handsaw or pocket knife
- A drawknife (highly recommended, though a sturdy knife works too)
- Work gloves
For drying and sanding:
- Sandpaper in 100, 200, and 400 grit
- A dust mask
- A tack rag or a piece of old cotton cloth with tung oil
For finishing:
- Tung oil
- Wood stain in your preferred color
- A stain brush
- Clear coat/varnish
- Old newspapers to protect your workspace
For the grip and tip:
- Grip wrap material (leather strip, paracord, or tennis grip tape)
- A rubber cap or rubber chair tip for the base
- Optional: a copper sleeve (for aesthetics, with a caveat I’ll explain later)
Nothing on that list is hard to find or expensive. Most of it lives in a decent hardware store, and some of it you may already have at home.
Now let’s move one and read the complete guide to making your own walking stick / hiking stick!
1. Pick a Good Piece of Wood
The first thing you have to do is go out there and find a good, proper stick to work with.
In case you live close to nature and have a forest as your backyard, then you shouldn’t have any trouble with this step.
If you live in the city, head to a government-owned trail nearby and you will find plenty of trimmed branches on the sidewalks, just lying there and ripe for the picking.
When choosing the best piece of wood to take home with you, pay attention to the following aspects, as they are important for the quality of your walking stick.
The Size
Find a branch that stretches up to well above your elbow, but not quite reaching your armpit. Pick a thicker one – at least one-inch in diameter – to make sure that you will have plenty of room to work with.
You will be doing some carving on it after all, and you wouldn’t want to end up with something that’s as thin as a blade of grass and therefore will offer no support.
The Quality
The best raw material for your DIY walking stick project is a branch that hasn’t been lying around for too long.
Pick a fresh one, but do not go so far as to break off a branch growing from a still-living tree. Opinions differ when it comes to which kind of wood makes the best walking stick.
Just about any kind of branch can be turned into a walking stick, but the more common options are maple and pine. They produce medium-quality sticks that are still perfect for the job.
If you are looking for top-of-the-line results, though, consider white waxwood or ironwood. The walking sticks created from these woods would be pretty much indestructible and amazingly flexible.
As a general rule, hardwood is better than softwood.
The Sturdiness
Even if you have found a branch that looks okay all-around, do not just head home satisfied without testing it first. Check the branch for any insect infestation.
If there isn’t any, smack it against the ground a few times for good measure. It’s better for it to break under the pressure now than when you’re alone on the hills.
You would be cursing yourself for not checking the sturdiness earlier as your supposedly-trusty companion is reduced to a heap of splinters at your feet.
Also read: Best Hot Weather Clothing for Hiking
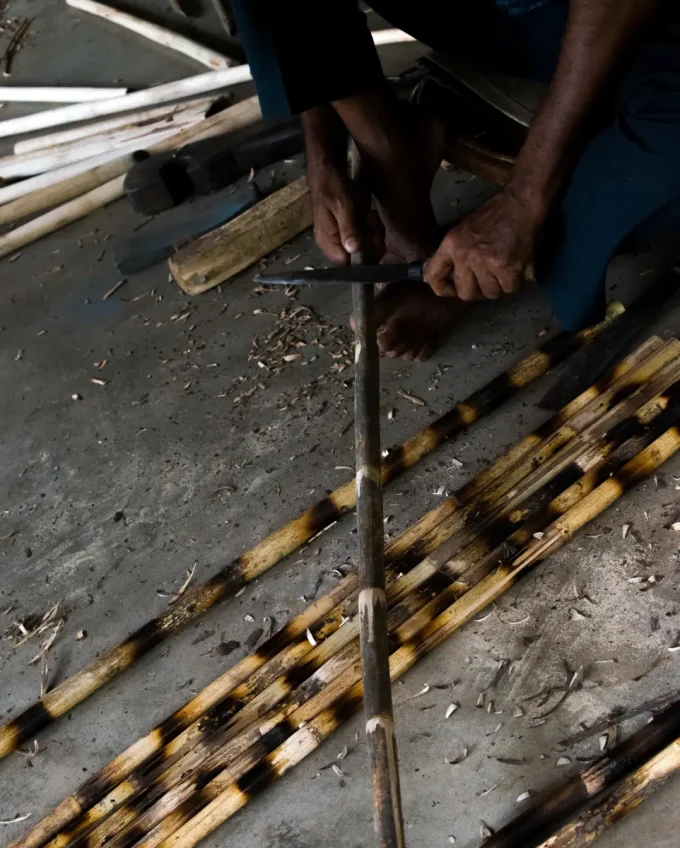
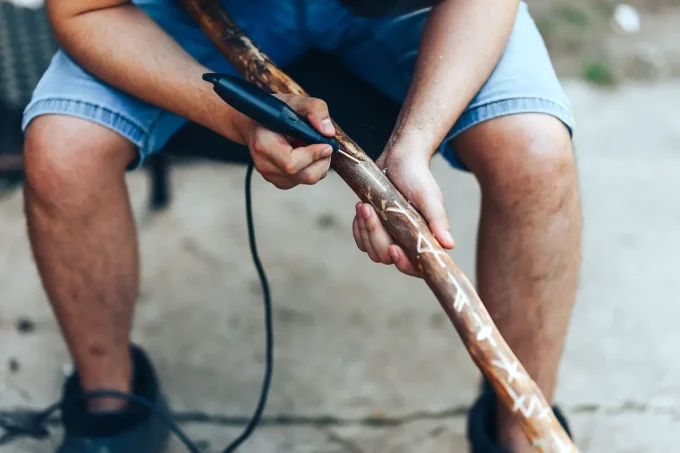
2. Shave and Trim the Stick Carefully
If you manage to find a marginally straight piece of wood to work with, that would be the best case scenario.
One that stands in a linear line from top to bottom would be a natural wonder, perhaps even specifically placed in this world to be turned into the perfect walking stick.
However, since such naturally-straight barks are hard to come by, the next basic step in making a walking stick is to manually shave and trim the wood to mold it into the perfect shape.
You need a handsaw for this or, even better, a drawknife (check out my favorite here – affiliate link). Cut off any extra protruding twigs, but be careful while doing this. Make sure to wear gloves and angle the saw to cut shallowly into the body of the branch.
This will prevent the saw from sliding down too rapidly and slicing into you. The bark might look a bit sunken in some parts thanks to that, but you can straighten it out by shaving off the skin of the wood.
You can use just about any kind of knife for this, although a drawknife will make it all a lot easier. Take your time and shave off one small piece of skin at a time.
If you are out in the wilderness and you don’t have access to the appropriate tools, you can just use your survival knife.
It might take longer to cut off the twigs without a drawknife, but you have to work with what you’ve got considering it’s an emergency situation.
3. Give the Stick Some Time to Dry
Once you’ve managed to reveal the insides of the branch in all its smooth, pale glory, you should leave it out to dry.
This can take anywhere from a few weeks to a year, depending on how green the stick is, the type of wood, and its diameter.
Wood that has a higher moisture level will naturally take longer to dry. Fir lumber is typically the quickest to dry, since it has the lowest moisture level.
On the other hand, pinewood and oak contain among the highest levels of water saturation.
Don’t try to speed up the process artificially. Some people put the stick in a kiln to save time. What they don’t know is that it will negate all of their hard work in the previous steps.
There’s no use picking a sturdy branch if you are going to kiln-dry it since the branch will become weak and brittle by the end of the process.
You would have wasted all that time and effort you put into trimming the branch also, since you wouldn’t be able to use that walking stick for long.
With air drying, you should leave the stick in a moderately warm place with good air circulation. It shouldn’t be too hot.
Now, all you have to do is wait and check on it every now and then. Once it feels strong enough, you can move on to the next step.
Make sure not to forget about it, though, since a piece of wood that has been left to dry for too long will become fragile and brittle.
And, truth be told – you don’t really have to wait for a whole year for the wood to dry. In most cases, this is a fairly quick process and if you are in a big hurry and in an immediate need of a walking stick, you can skip this part (or some of it).
Just make sure that whenever you have time, you do go through this with a new stick, as one created before it dries completely will not be as durable and safe.
Also read: Best Boonie Hat You Should Always Have with You
4. Prepare the Stick for Oiling and Staining
A stick that has been oiled and stained will have a good layer of protection and will be able to accompany you on many a hiking trip. However, your stick is not ready to be stained as it is. Some prep needs to be done beforehand.
You may have shaved and trimmed a raw piece of wood into a smooth, white stick, but it is not smooth enough for you to get a proper grip on just yet.
Sanding the stick will improve its overall look and feel tremendously.
All you need for this step is a whole lot of sandpaper and elbow grease. You need to prepare three types of sandpaper with different levels of coarseness, namely the 100, 200, and 400 grit varieties.
Feel the body of the stick to learn in which direction the grain is going. Pick up one of the 100 grit sandpapers, and you’re now ready to start sanding.
Don’t forget to strap on a mask before you go at it. You do not want all that fine dust in your lungs.
One important rule here is to never go against the grain. It would only make the job harder. You would need to put in more oomph into each stroke and it would ruin your sandpaper that much faster.
Rather, go with the flow. Be more delicate when you are sanding the top, around the area you have carved.
Once you’ve gone over the whole length of the stick with the 100 grit sandpaper, move on to the next level. Start sanding from the top again with the 200 grit sandpaper and the 400 grit one after that.
You can sand the stick until it is smooth enough to feel like silk on your fingertips, but it is also okay not to go that far.
When you feel satisfied with the result, pick up a tack rag and start wiping the stick down to get rid of any residue.
Tack rags are available at any given convenience or hardware store, but you can also make one yourself.
Pour a bit of tung oil onto a piece of old rag or cotton and start wiping. You might want to stock up on that tung oil because you’ll need it for the following step.
Love DIY projects? Then, why not learn How to Make A Paracord Lanyard and How to Tie Paracord Knots for super-durability?
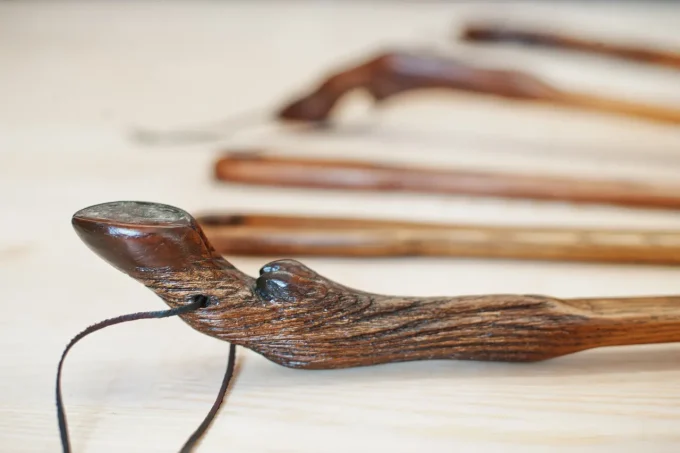
5. Oiling and Staining the Stick
The walking stick is actually pretty functional already at this point, and you can take it out on a hiking trip already if an urgent one is coming up or if you simply can’t wait to use it.
However, for the optimum result, you should take the time to go through the finishing process.
It will add that much-needed protection to your walking stick to make it more durable and turn your DIY stick into something that looks like it should have been placed in the display case of a high-end store.
First, you need to apply oil onto the stick. Apply it evenly from top to bottom. Make sure the stick is practically gleaming by the time you’re done with it.
Pick a can of stain with the color that catches your eye. The color palette ranges from a very light brown to a very dark brown.
The local hardware store should have a good selection in stock. Don’t forget to open up the windows before you start.
Stain smells like no one’s business and working with it in a closed room without proper ventilation will make you dizzy before long.
Apply the first layer of stain with a brush. The basics are the same as the sanding process. Do not go against the grain and work from the top to the bottom. Make sure the stain is applied evenly. Smooth out any part that looks uneven or runny.
It’s best to work atop a layer of old newspapers because things can get pretty messy. Cleaning stains off of the garage floor is extra work you should not need to deal with.
Wait a few hours for the stain to dry, then sand the stick again with a 400 grit sandpaper. Don’t forget to buff it up with the tung oil.
Once you’re done, apply another layer of stain. Repeat the process until your walking stick is covered by three thick coats.
For extra protection, apply a layer of clear coat. It protects the stain you worked so hard to apply, making them impervious to scarring and any unwanted dents.
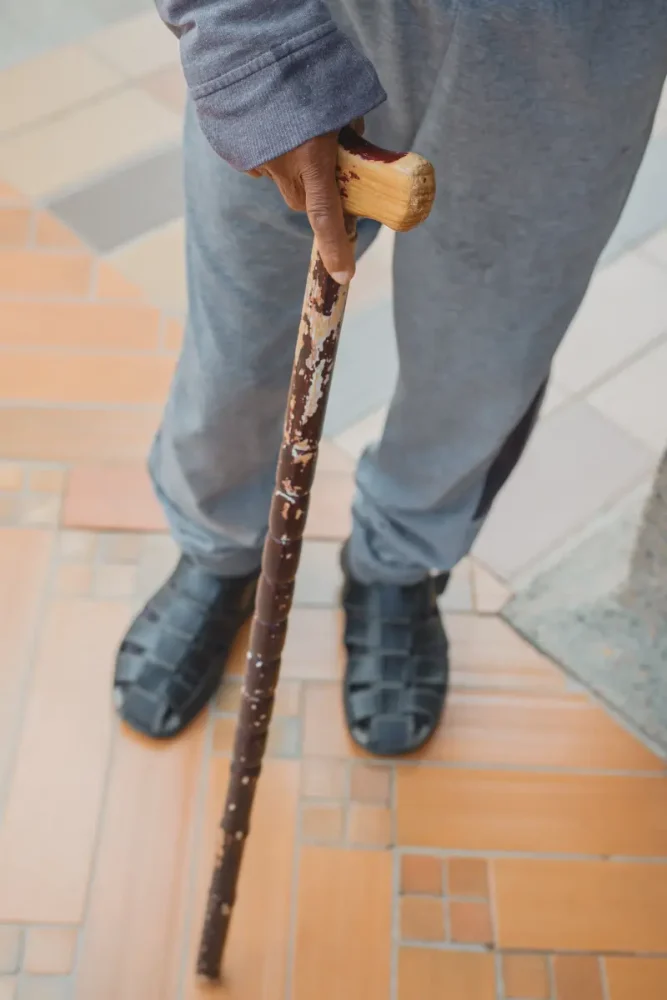
6. Add a Grip
A bare wooden handle works, but after a few hours of hiking, it becomes uncomfortable, especially in warm weather when your hand starts to sweat.
The good news is that adding a grip is simple. First, hold the stick naturally and mark where your hand sits at the top and bottom of your grip. That’s your target zone, and I’d suggest making it slightly larger than your hand to allow for grip adjustments while walking.
From there, you have a few options. A strip of leather wrapped tightly around the handle area looks great and ages beautifully over time.
Paracord is another solid choice and adds a bit of rugged character. Tennis grip tape is the most practical option if you want something soft, non-slip, and easy to replace later.
Whichever material you choose, wrap it firmly and evenly. Secure the ends with a small tack of wood glue or a tight knot if you’re using cord.
While you’re at it, consider adding a wrist strap. A short loop of paracord or nylon cord threaded through a small hole drilled near the top of the stick lets you slip your wrist in and removes the risk of dropping it on uneven terrain.
7. Add the Finishing Touches
Your walking stick is looking mighty fine now, and it is pretty much ready to be taken for a spin.
But there’s one last step you should follow before you set your foot out of the doorway in full hiking gear with your new trusty companion by your side.
You need to add extra protection to the base. It is, after all, the part that would be coming into actual contact with the ground. It will splinter before long without proper coverage.
Two common things people use to cover the bottom with would either be a copper pipe or a rubber cap.
A copper pipe definitely looks cooler, but if you are looking for a cheaper option, consider the rubber cap.
A rubber cap can stretch and will typically be able to fit around the stick snugly without needing any adjustments.
With the copper pipe, you might have to whittle the bottom of the stick down a bit beforehand so the pipe will be able to slide in.
Congratulations on Finishing Your Very Own Walking Stick!
As you can see, there aren’t that many steps involved in making a walking stick.
You basically need to pick a suitable piece of wood, trim and shave it, dry the wood, let your imagination run wild with the design, and apply several layers of coating.
It takes time, and it may not be as simple as booting up your computer and having a premade one shipped to your door. Still, it’s worth it.
Arrange a trip with your hiking friends now and brandish your walking stick as if it were the Excalibur to your King Arthur. And make sure to wear one of our recommended, Best Gore Tex Hiking Shoes.
Do you have any tips or tricks to share with your fellow readers when it comes to making walking sticks? Please share them in the comment section below.

Mark Foster loves to push his limits when it comes to survival in the wilderness. He might go for a 30-days adventure without any food or equipment except for a survival kit and a knife. We should mention that his survival kit has 122 items in it, so he know what he is doing. Mark is working on his book to share with the world all his experience gained during those brave adventures.
Thank you for this article! You are right, a walking stick can cost up to $50 so making one on your own is a very great idea. It is a nice DIY project especially if you have extra time. This is cool because you can apply your preferred design too.
You never know when you will lose your gear, including your hiking poles. Therefore, knowing how to create them is absolutely important.
For the longest time, I have been planning on making my own walking stick and this article just gave me more motivation. Since it is a DIY, I will surely save more money. I will also be able to incorporate whatever style I like so it is a win-win.
One of the most important skills for any hiker is creating hiking sticks. So, make sure you get hold of all the tips from the article.
Unlike other hiking gears, you can actually make your own walking sticks. The skill will help you cut on cost and allow you to do something unique.
Walking sticks are the most essential hiking gear, and knowing how to make them is essential. This article should prove helpful.